
If your door lock actuator is getting sluggish or not responding at all, it may be time to replace the actuator. And, if you're dreading the $300 trip to the dealer to get it fixed, or not wanting to spend $70 and have a difficult space to work with to fix it yourself, I'll show you how you can replace your door lock actuator yourself. All you'll need is some basic tools, 1-2 hours of your time, and $8. And best of all, it should be a more or less permanent fix.
First, you'll need to find a universal door lock actuator. Just search for one on ebay, they all seem to be the same. You just need one with two wires. I found mine for $8.
Tools you'll need:
10mm socket
Ratchet
T25 Torx bit
Flathead & Philips screwdrivers
A small punch
Wire cutters/strippers
Electrical tape
Needle nose pliers
Optional, but helpful:
3M double sided tape
Soldering iron
It's advisable to disconnect your negative battery cable before doing electrical work.
Let's get started! First we'll need to remove the door panel. All four door panels remove almost identically. Actuators will install similarly as well. This post focuses on the rear doors, but front doors are similar. Be sure to position your actuator carefully to ensure clearance.
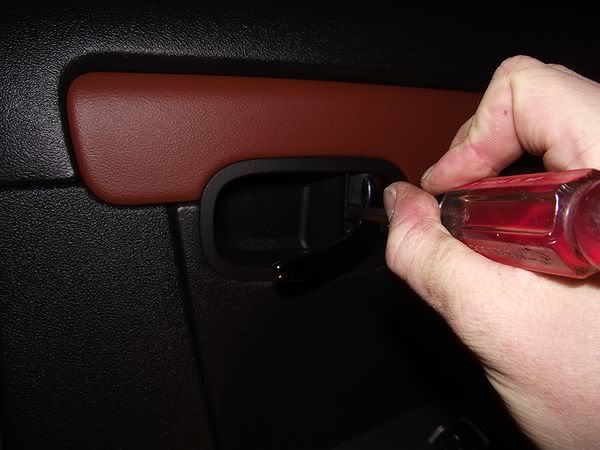
Start by popping off the cover in the door handle socket with your flathead screwdriver. ONLY PRY FROM THE REAR!
![Image]()
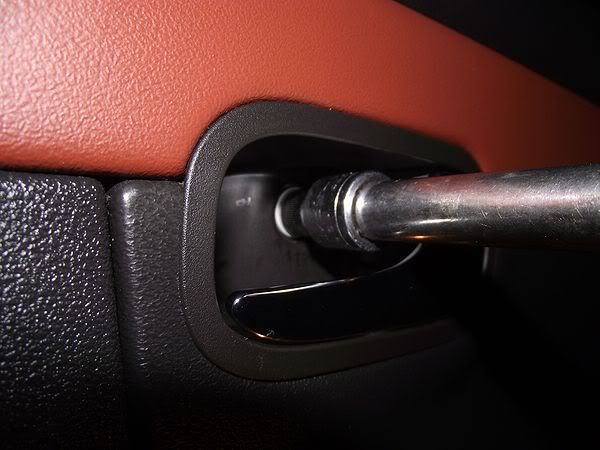
Next, use your 10mm socket and ratchet to remove the bolt that was hidden by the cover.
![Image]()
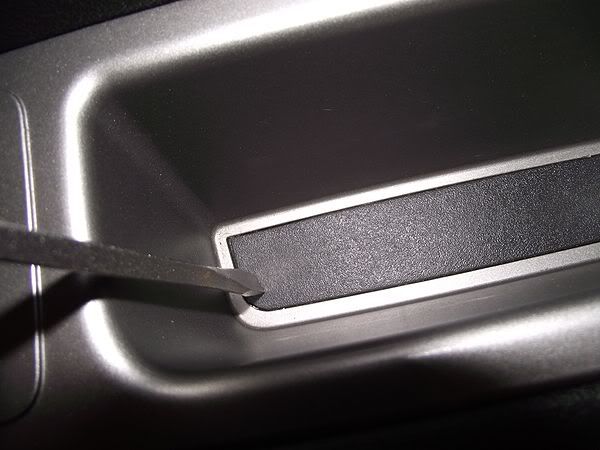
Use your flathead screwdriver to remove the rubber cover at the bottom of the door pull well.
![Image]()
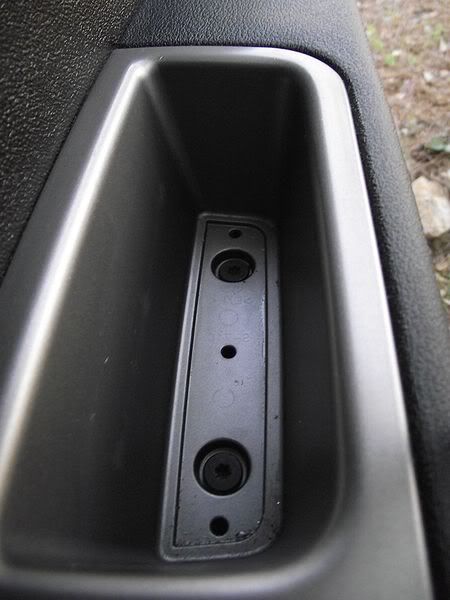
Next, use your T25 Torx bit to remove the two bolts at the bottom of the door pull well.
![Image]()
More next post...
.
.
.
First, you'll need to find a universal door lock actuator. Just search for one on ebay, they all seem to be the same. You just need one with two wires. I found mine for $8.
Tools you'll need:
10mm socket
Ratchet
T25 Torx bit
Flathead & Philips screwdrivers
A small punch
Wire cutters/strippers
Electrical tape
Needle nose pliers
Optional, but helpful:
3M double sided tape
Soldering iron
It's advisable to disconnect your negative battery cable before doing electrical work.
Let's get started! First we'll need to remove the door panel. All four door panels remove almost identically. Actuators will install similarly as well. This post focuses on the rear doors, but front doors are similar. Be sure to position your actuator carefully to ensure clearance.
Start by popping off the cover in the door handle socket with your flathead screwdriver. ONLY PRY FROM THE REAR!
Next, use your 10mm socket and ratchet to remove the bolt that was hidden by the cover.
Use your flathead screwdriver to remove the rubber cover at the bottom of the door pull well.
Next, use your T25 Torx bit to remove the two bolts at the bottom of the door pull well.
More next post...
.
.
.


